
PRESENTATION
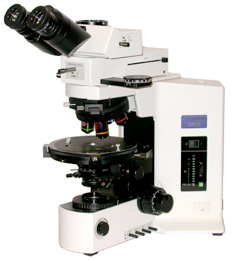
Olympus BX51 manual fluorescence microscope with mercury fluorescence illuminator, and Nomarski/DIC Prism for Transmited Light
Room: 2.1.15
IP: 10.101.134.44 (why?)
Check “What are the costs” at the Users section
| Pos | Mag | NA | IM | Corr. | WD (mm) | Glass (mm) | Color Code | Pixel Size w/ TIS camera (um/pix) | Obs |
|---|---|---|---|---|---|---|---|---|---|
| 1 | 4x | 0.13 | Air | UPlanFL | 17 | - | 2.206 | - | |
| 2 | 10x | 0.40 | Air / Water | UPlanApo | 3.10 | - | 0.883 | - | |
| 3 | 20x | 0.70 | Air | UPlanApo | 0.65 | - | 0.441 | - | |
| 4 | 40x | 0.85 | Air | UPlanApo | 0.20 | - | 0.222 | - | |
| 5 | 60x | 0.9 | Air | UPlanFL N | 0.2 | - | 0.146 | - | |
Pos Position
Mag Magnification
NA Numerical Aperture
IM Immersion Medium
Corr. Correction Type
WD Working Distance
Glass Coverglass
Obs Observations
| Position | Excitation (nm) | Emission (nm) | Fluorophores | Model |
|---|---|---|---|---|
| U-MWU2 | BP 330-385 | LP >420 | DAPI, hoechst | - |
| U-MNIB | BP 470-490 | LP >515 | GFP, Alexa488, cy2, FITC | - |
| U-MNG | BP 530-550 | LP >590 | RFP, YFP, Alexa546, Alexa568, cy3, TRITC | - |
| U-MSWB | BP 420-480 | LP >515 | only w/ cromossina | - |

Transmitted light
Halogen lamp
Fluorescence
Olympus U-RFL-T Mercury lamp
Axiocam mRm, 1.3MPixels, monochromatic cooled CCD – acquisition with uManager
TIS DFK 1.9MP Sony CCD color camera – acquisition with IC Capture software or uManager
ACCESSORIES
BASIC PROCEDURE FOR COLOR IMAGES
1.Turn on the microscope transmitted light illumination at the power switch, and adjust light intensity on the right hand side round knob. Push the eyepiece/camera selector pole all the way in so that you can see through the eyepieces. Choose desired objective and bring your sample into focus.
2.Turn on PC, and start IC Capture 2.4 program.
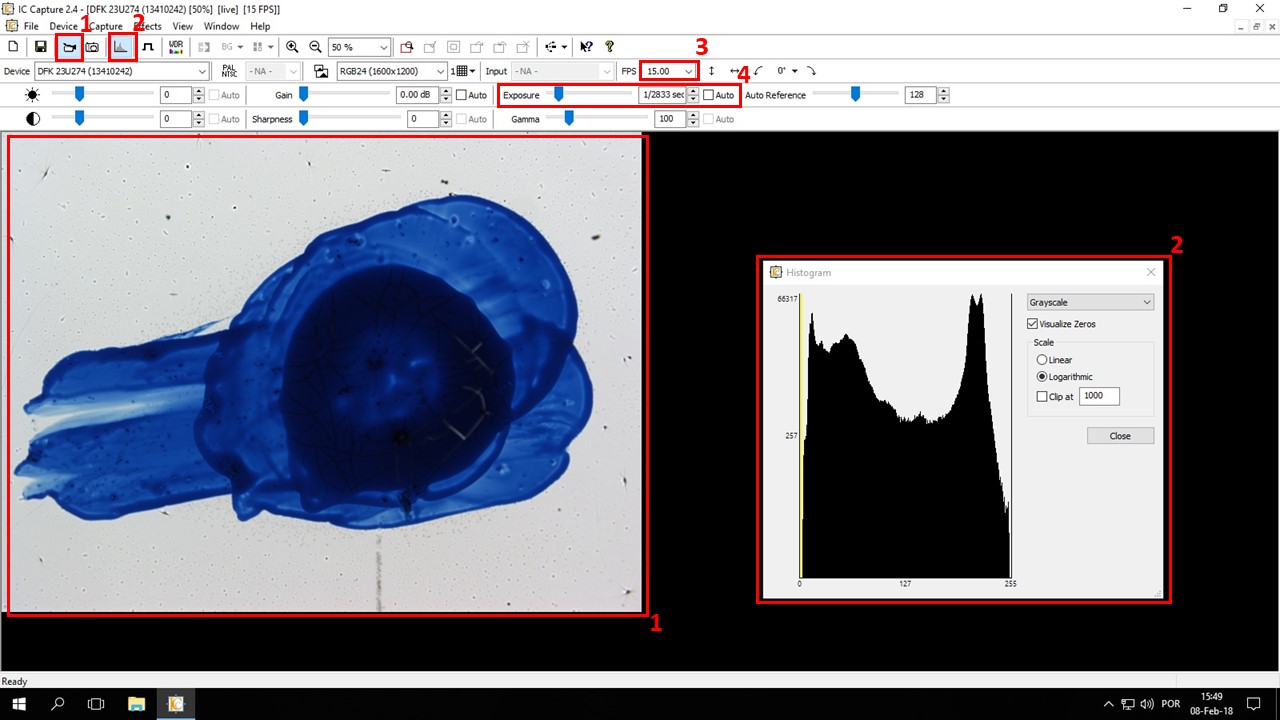
3.Pull the eyepiece/camera selector all the way out. You should see your sample on the viewing window. If not, press button 1. Make sure FPS are at 15.00 (button 3).
4.Press button 2 to visualize the histogram (easier: grayscale, visualize zeros, log scale options), and adjust EXPOSURE (button 4) until you see histogram peaks close to, but not at, 255 (pure white / saturation). UNLESS YOU KNOW WHAT YOU’RE DOING and wish to do pre-processing, leave Brightness, Contrast, Gain, and Sharpness at ZERO (uncheck all “Auto” cheboxes), and Gamma, Auto Reference, and Color Balance at default values.
5. Using the onscreen image, set up Koehler Illumination, and readjust your exposure, if necessary. Koehler illumination usually has to be repeated for each objective.
6.When you’re happy with your image, right-click on it and pick “Save Image” from the menu. Save in your folder.
7.When you’re done with work, turn to the lowest magnification objective, adjust the light intensity knob to zero, and switch off the microscope. Copy your images from Voxel 6, and switch off the acquisition computer.
You can calibrate your images in FIJI using the “Pixel Sizes” for each objective. You can find these in the Objectives section.
Olympus BX51 is also equipped with Darkfield and DIC, and can acquire fluorescence images. If you need these, please ask Telmo or Luís for assistance.
LINKS / USER MANUALS
EQUIPMENT RESPONSIBLE
 |
 |
|
Telmo Nunes FCUL Microscopy technician mevarrimento@fc.ul.pt Room 2.1.15 |
Luís Marques
FCUL Microscopy technician lfmarques@fc.ul.pt Room 8.1.79 / 2.1.15 |